Must-Read for New Users
1. New User Guide
Hey, new ByteDa users. If you are just getting started with design work, you may be wondering:
How do I make my first design?
Will ByteDa be hard to use?
What if I still cannot make a good-looking image?
How can I learn what else ByteDa can do?
Do not worry. Here is the shortcut: the ByteDa official account. With it, you can create better designs faster.
ByteDa shares practical tutorials every week to help you learn the product step by step, even if you are starting from zero.
You can also follow product updates there and try new features as soon as they are released.
Selected ByteDa Official Account Posts
For media and operations teams:
- Major Upgrade | 5 New Features Make Your AI Design Smarter
- Big Update | This Wave of ByteDa AI Changes Doubles Efficiency
- Less Repetition, More Creative Output | ByteDa Gets Another Upgrade
For different scenarios:
- Finance teams: The secret to 10x design efficiency for finance teams
- E-commerce teams: Let AI free e-commerce designers, and double your campaign output
Follow ByteDa on WeChat to keep learning every week.

2. Create Your First Design
2.1 Prompt Input
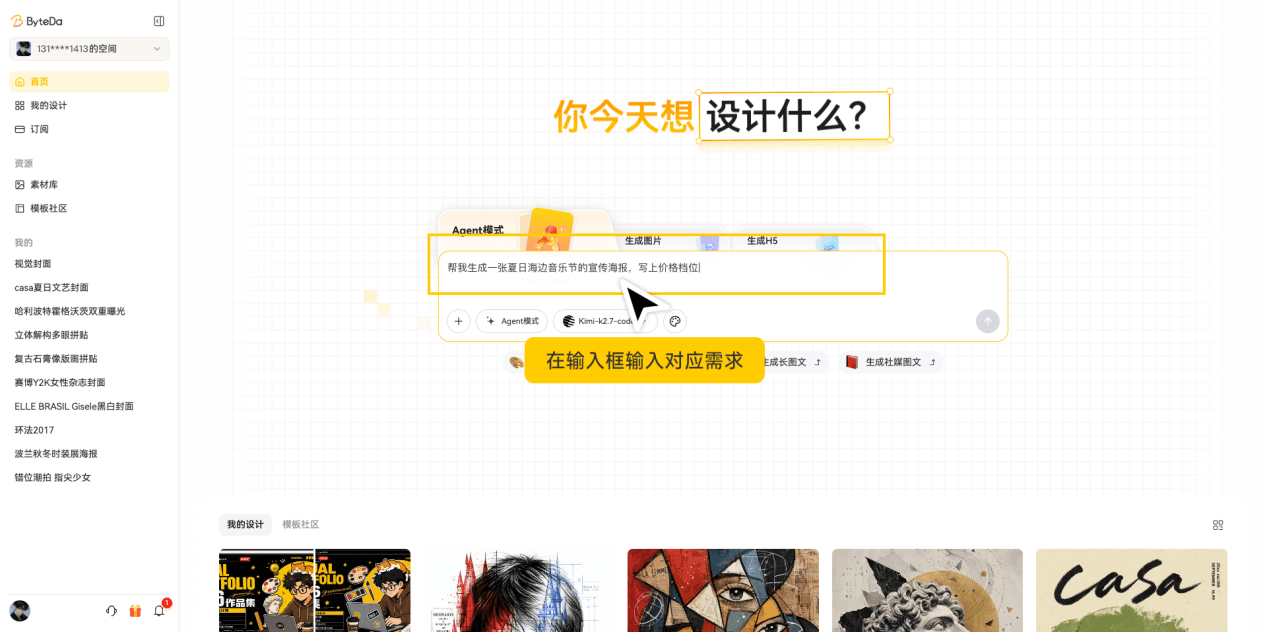
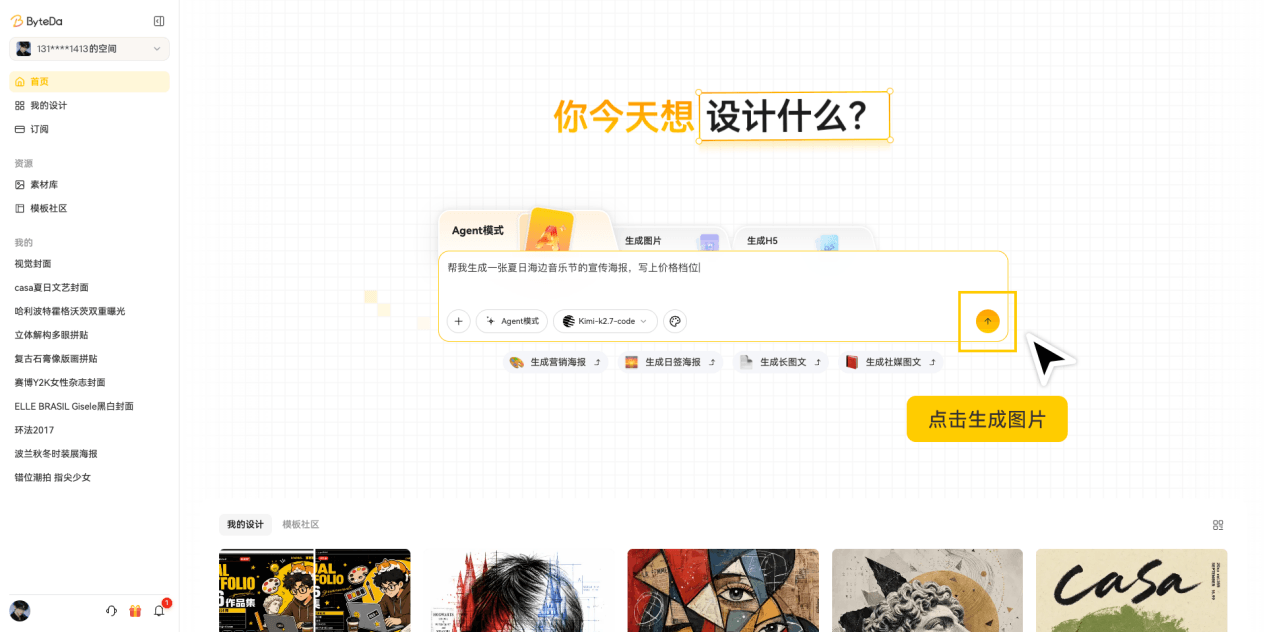
Path: Home page -> choose an image style -> enter your requirements -> generate the image
a. Open the ByteDa home page
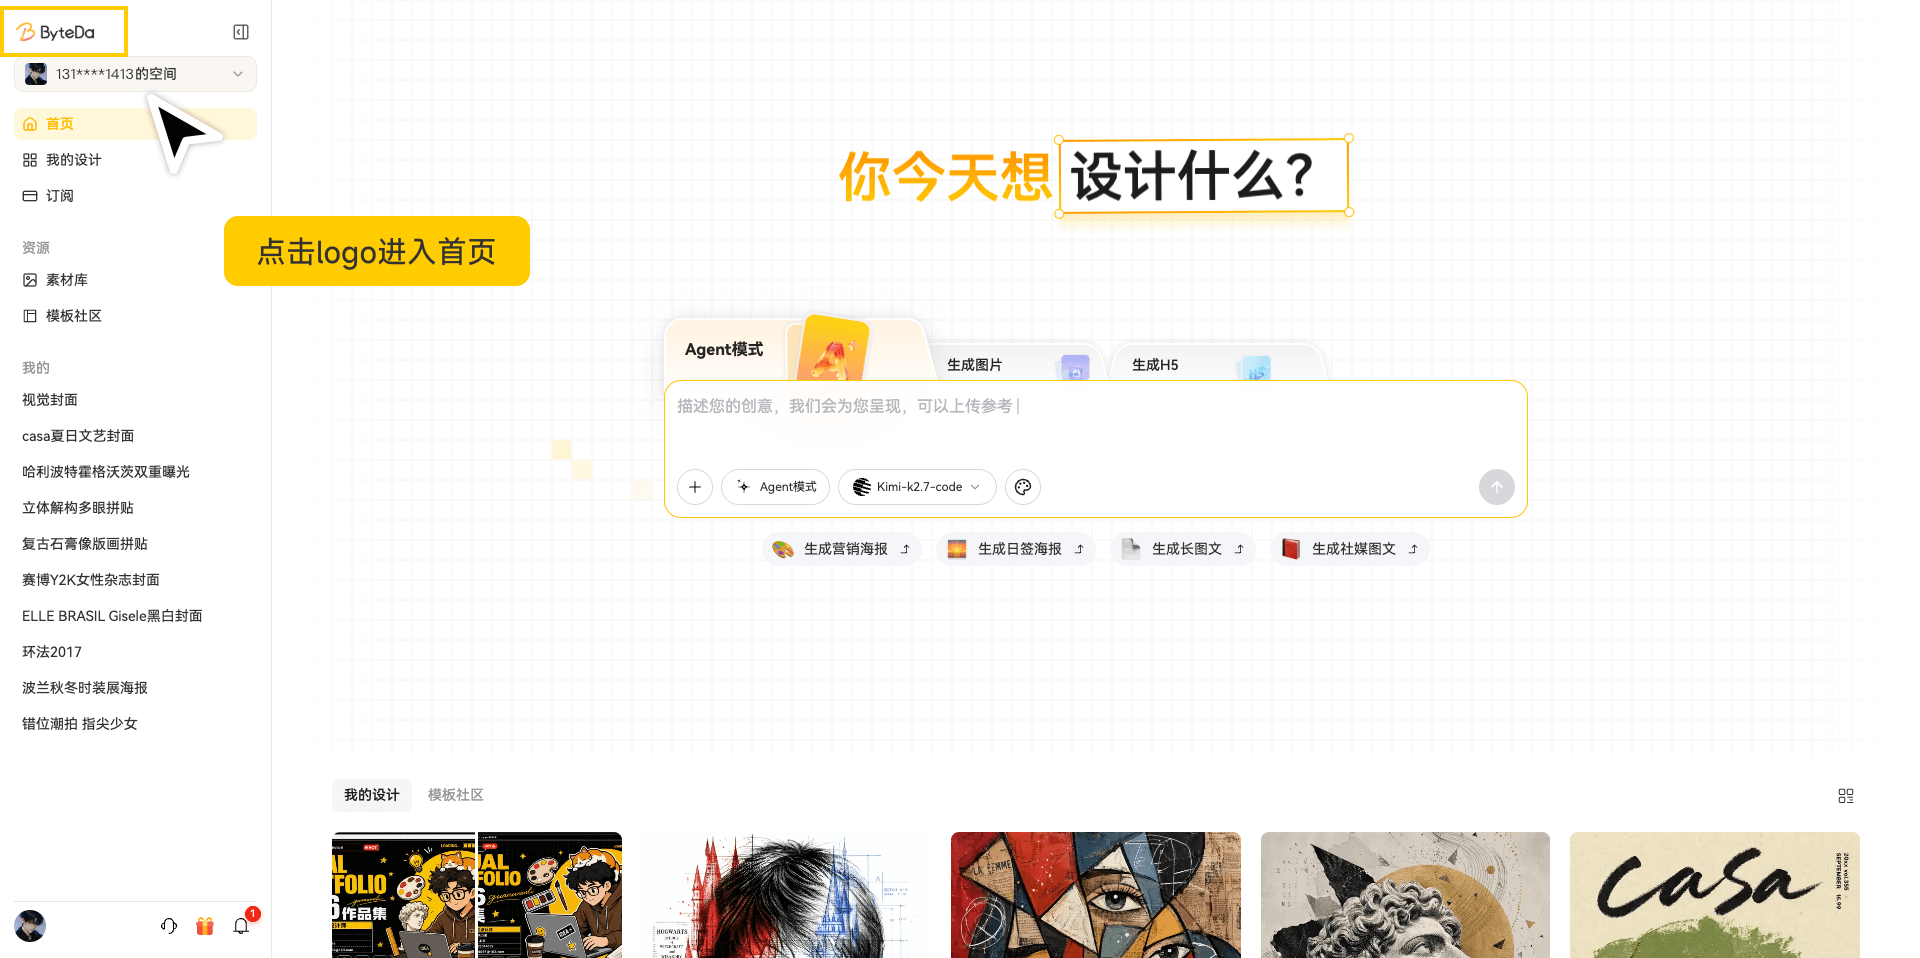
b. Choose the image style you need

c. Enter your prompt
d. Generate the image
2.2 Template Selection
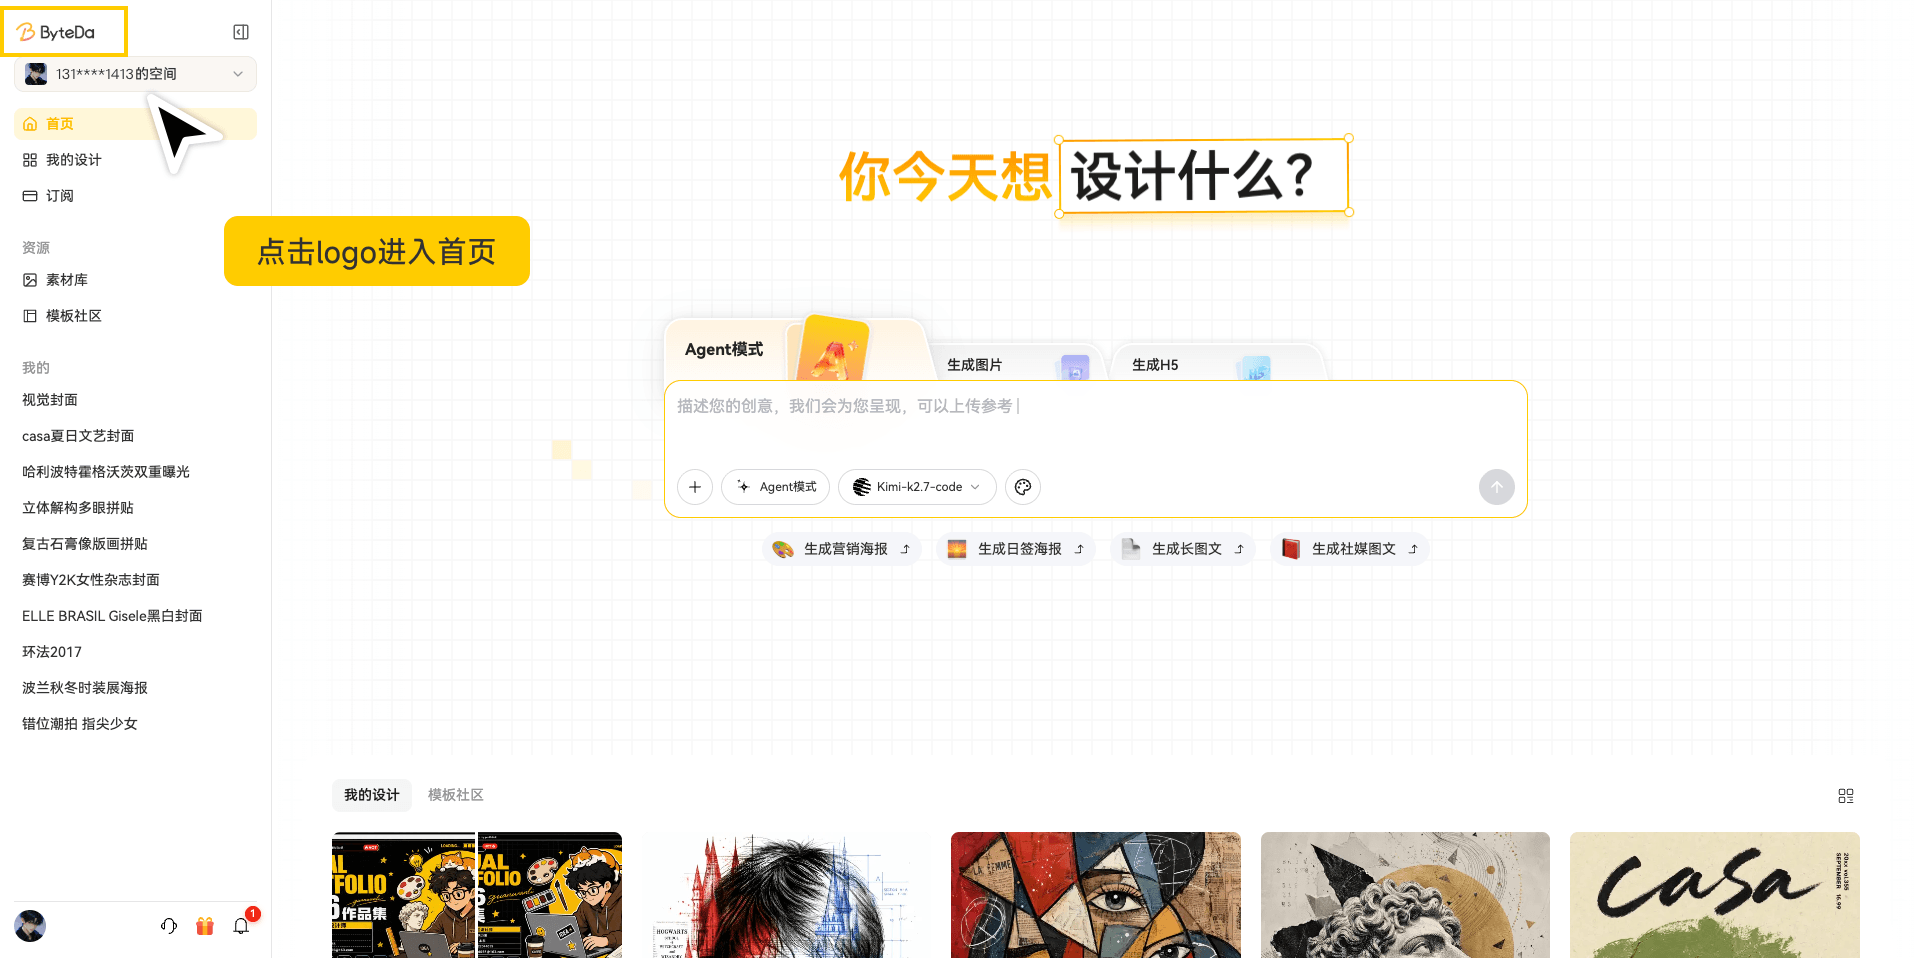
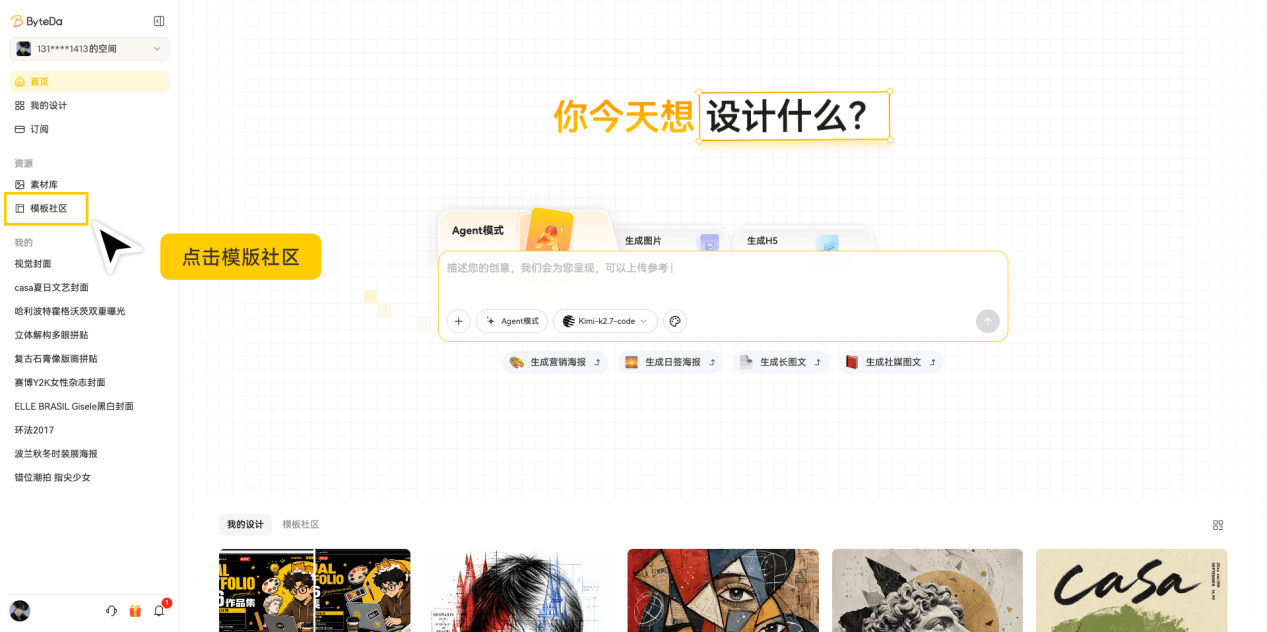
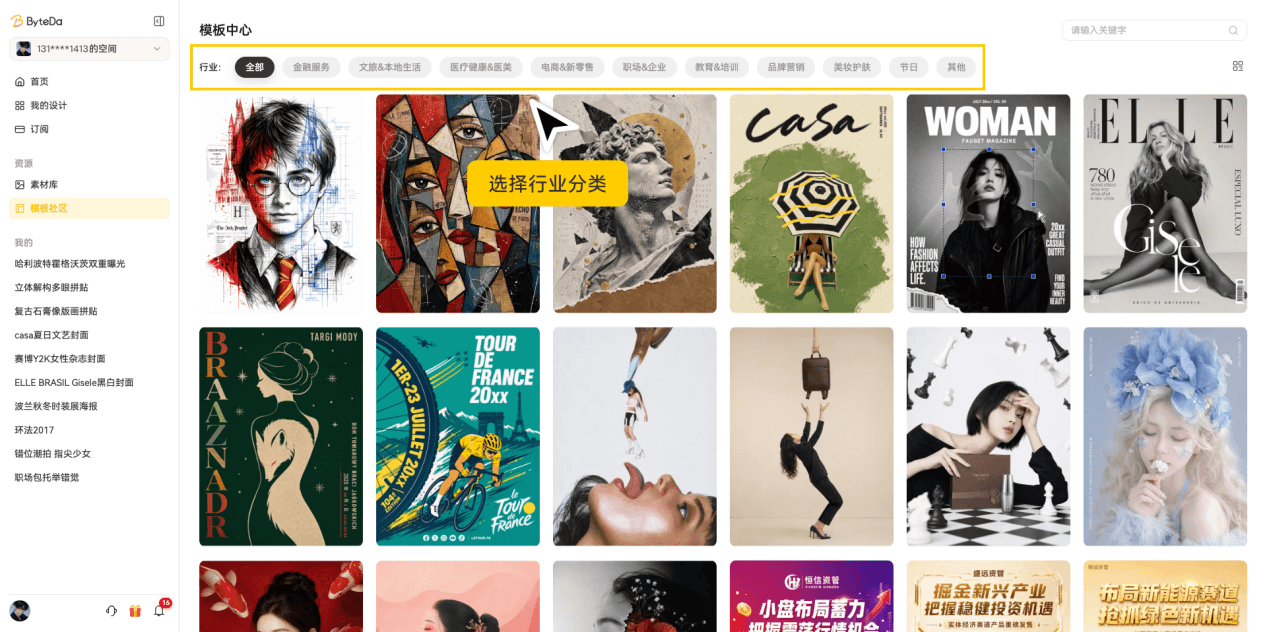
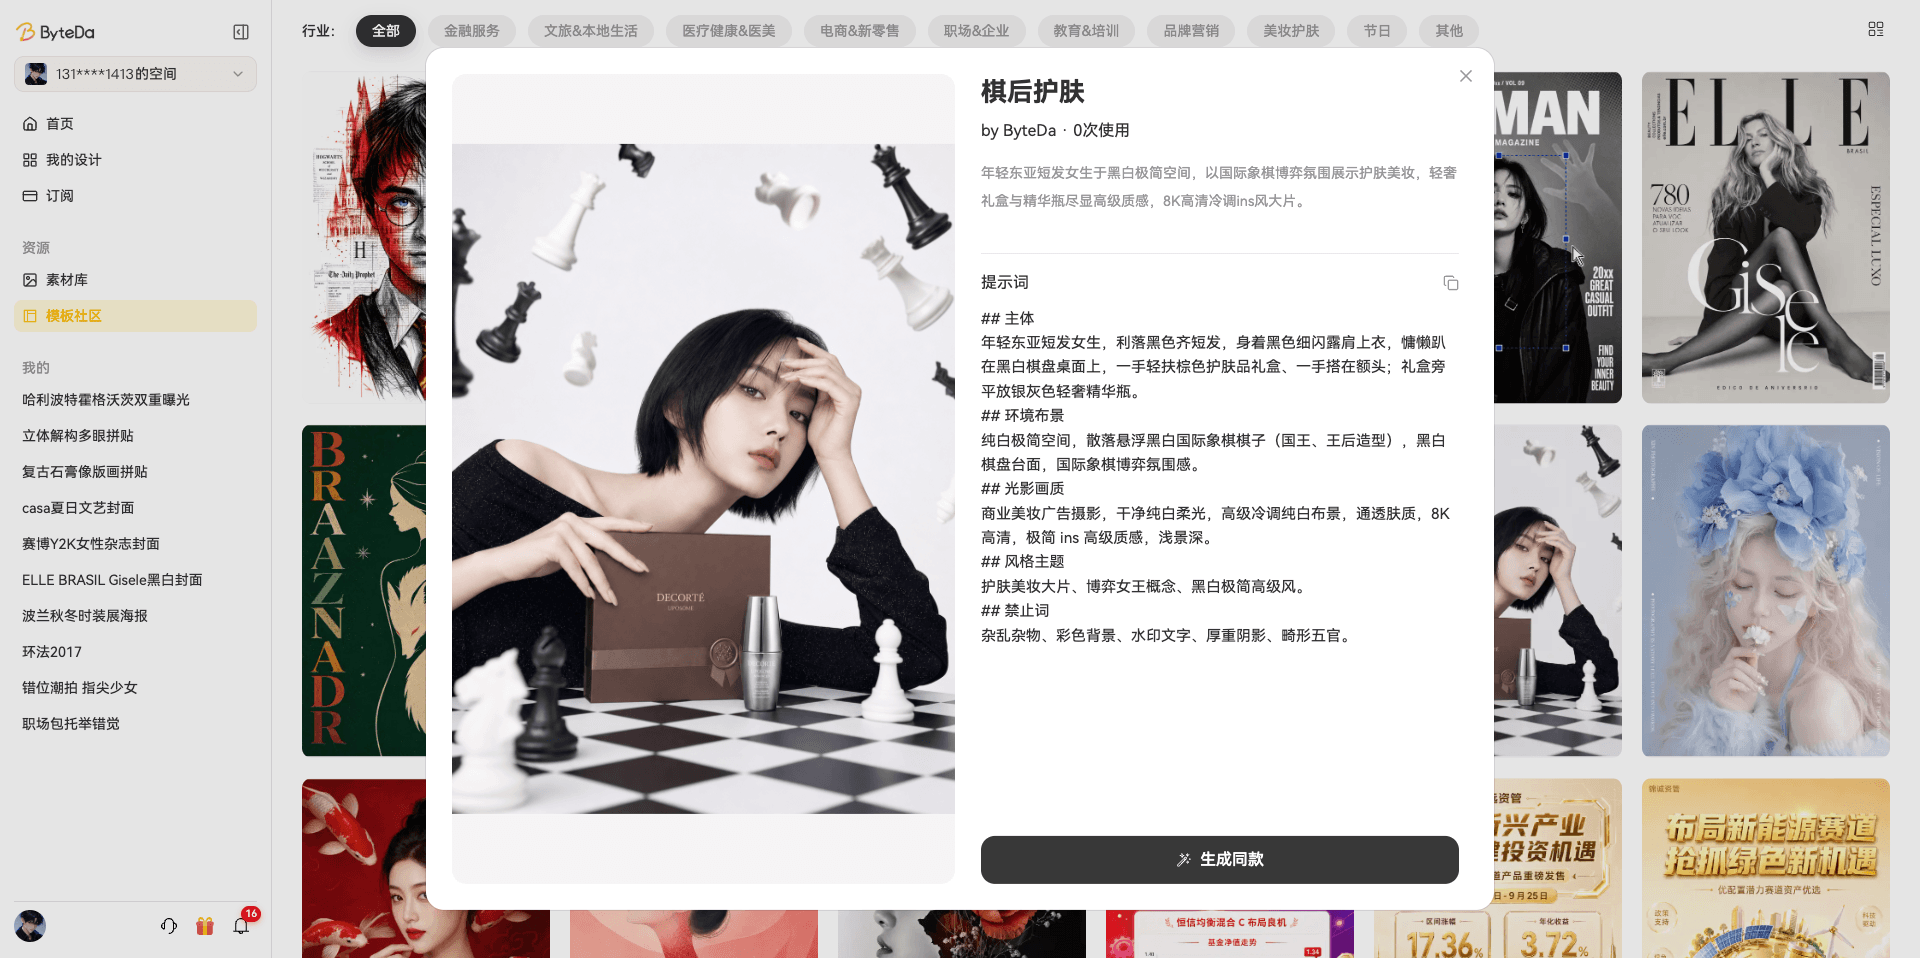
Path: Home page -> Template Community -> choose an industry -> pick a suitable template -> adjust the prompt if needed -> generate the image
a. Open the home page
b. Open Template Community
c. Choose an industry category
d. Pick a suitable template
e. Adjust the prompt if needed
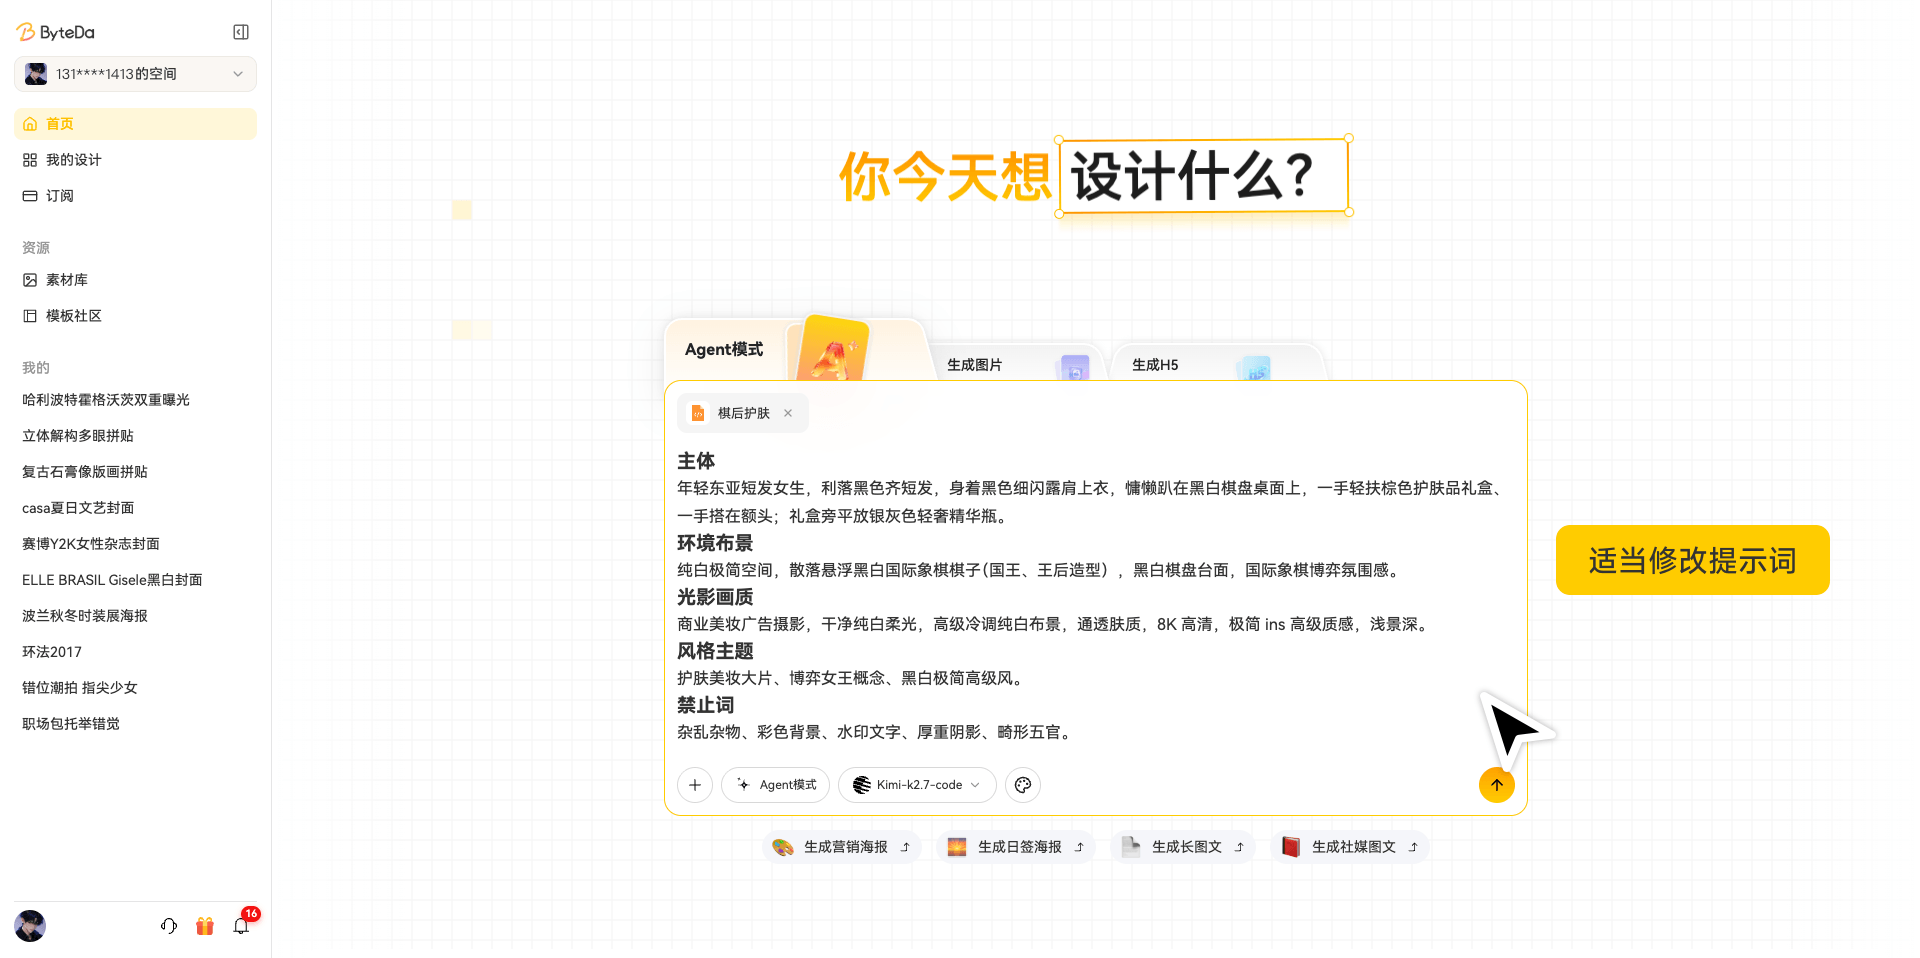
f. Generate the image
