Workspace Interface
1. Top Navigation Bar
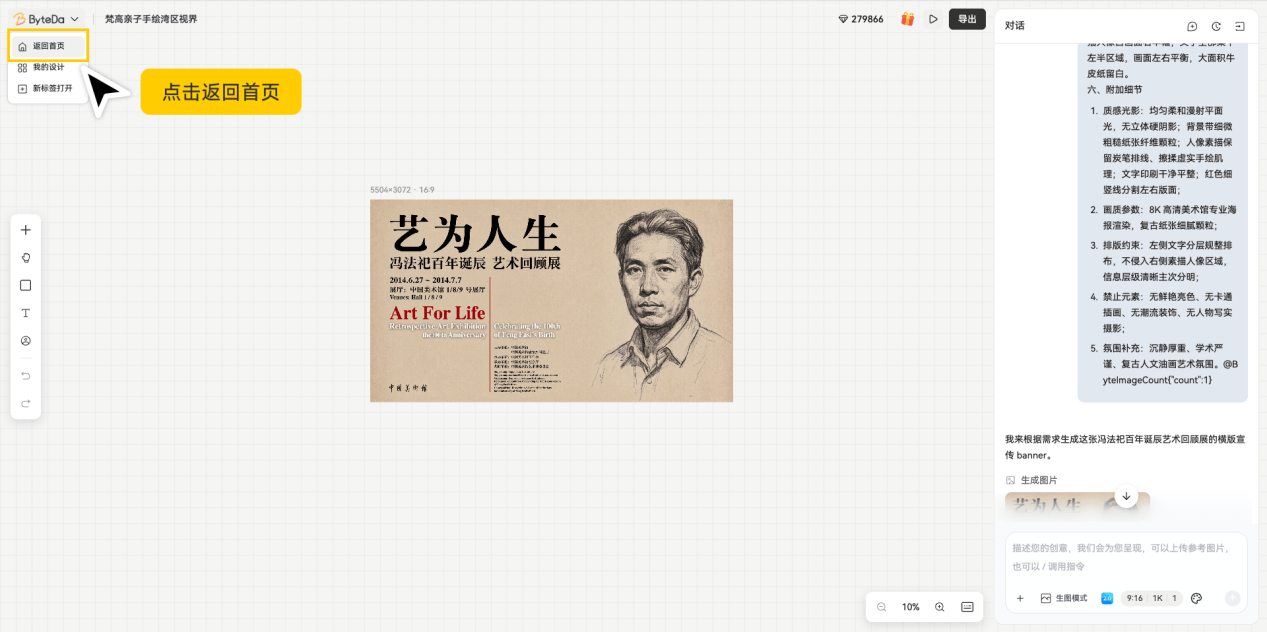
1.1 Return to Home
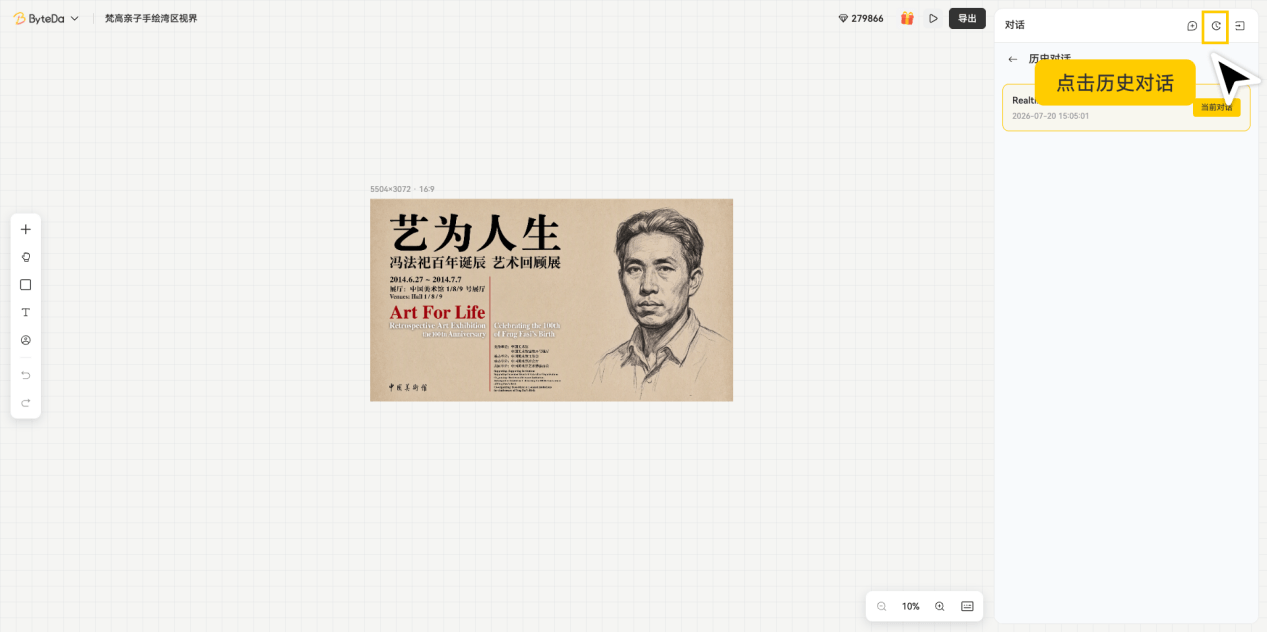
1.2 Version Management
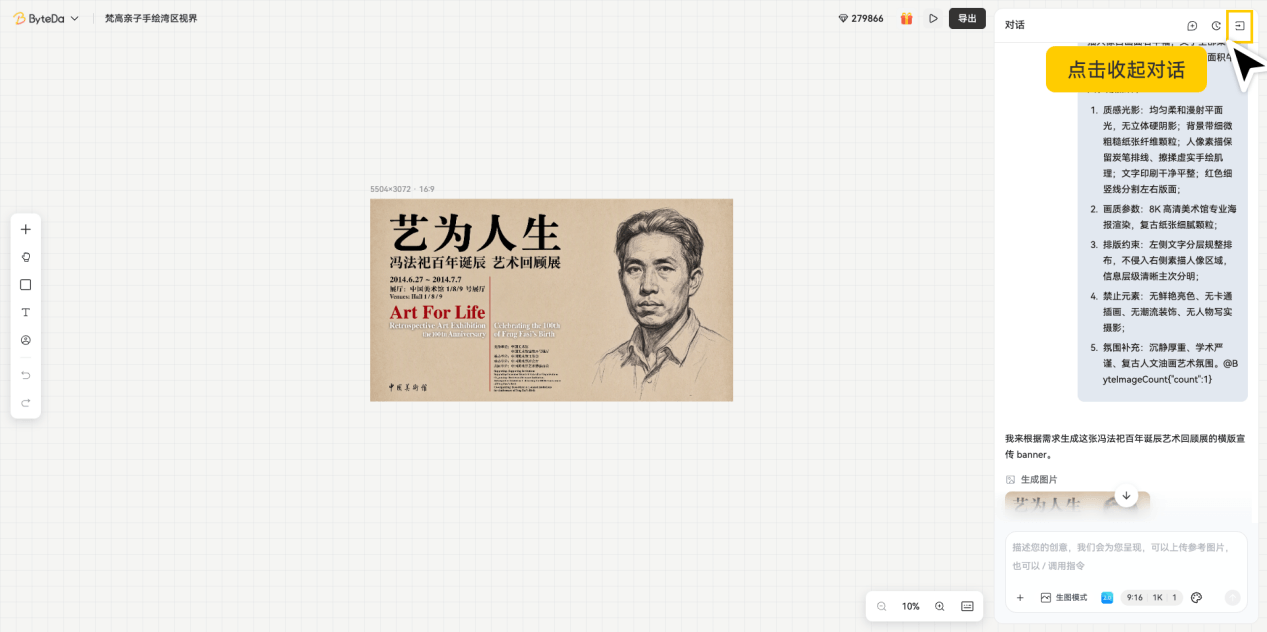
1.3 Collapse Chat Panel
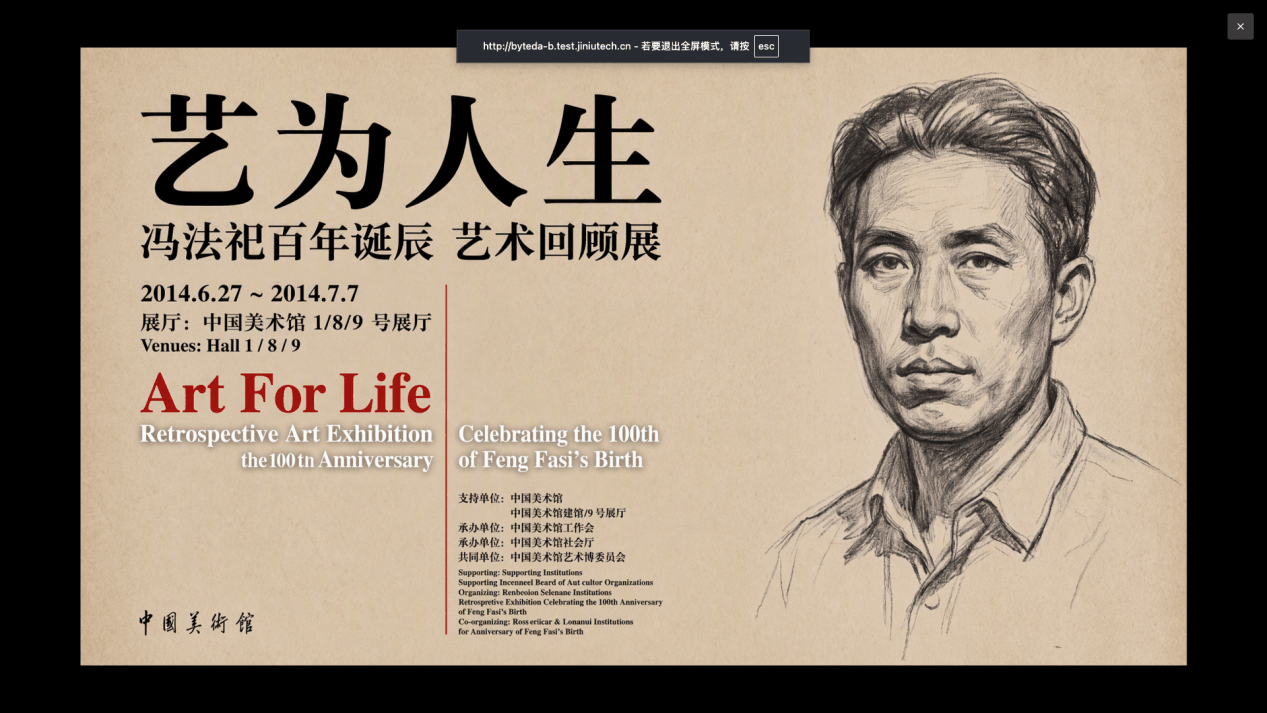
1.4 Demo Mode
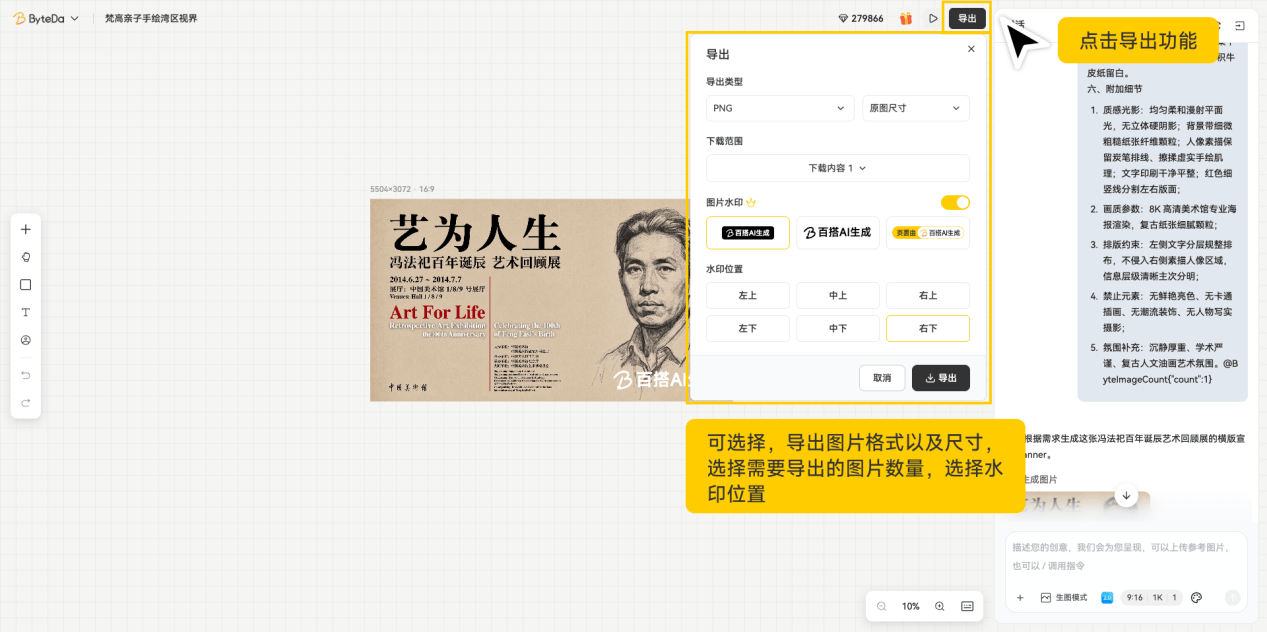
1.5 Export
You can choose the export image format and size, select how many images to export, and set the watermark position.
2. Left Chat Panel
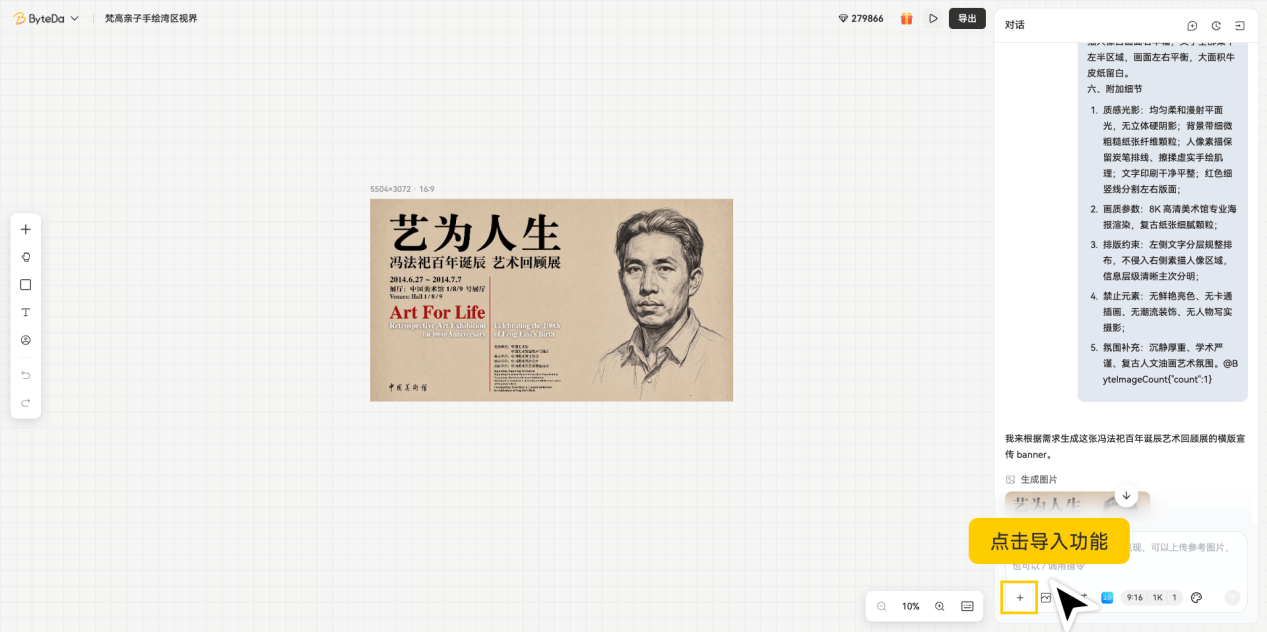
2.1 Import Images / Files
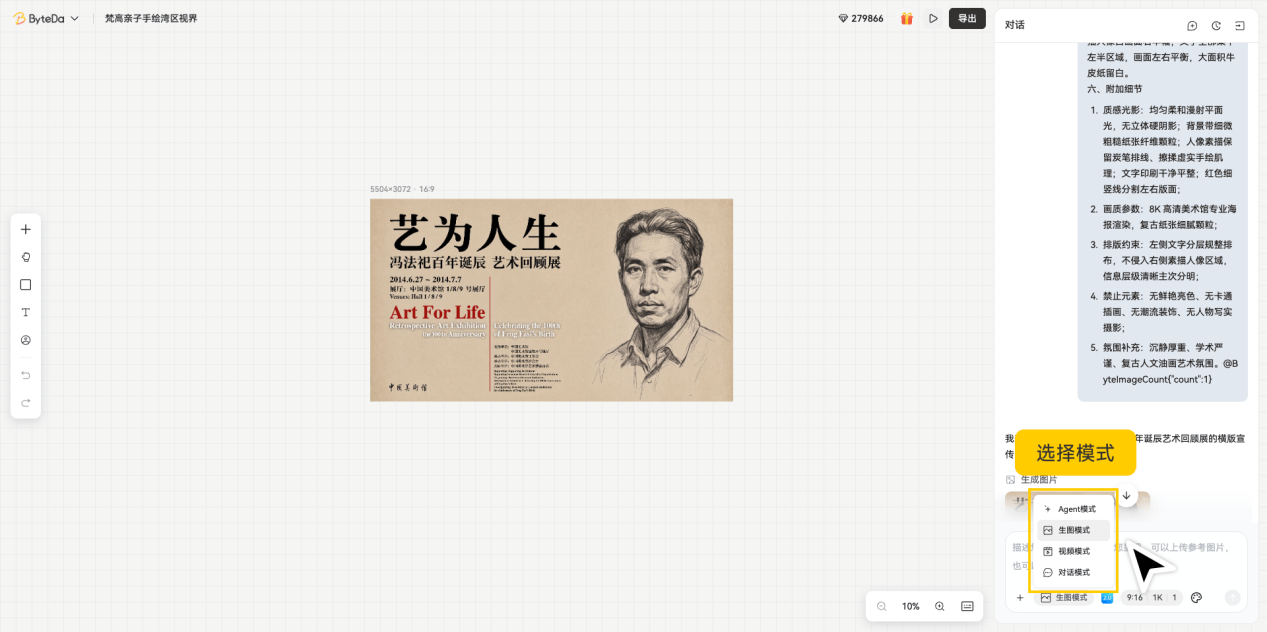
2.2 Choose Mode
Three modes are available.
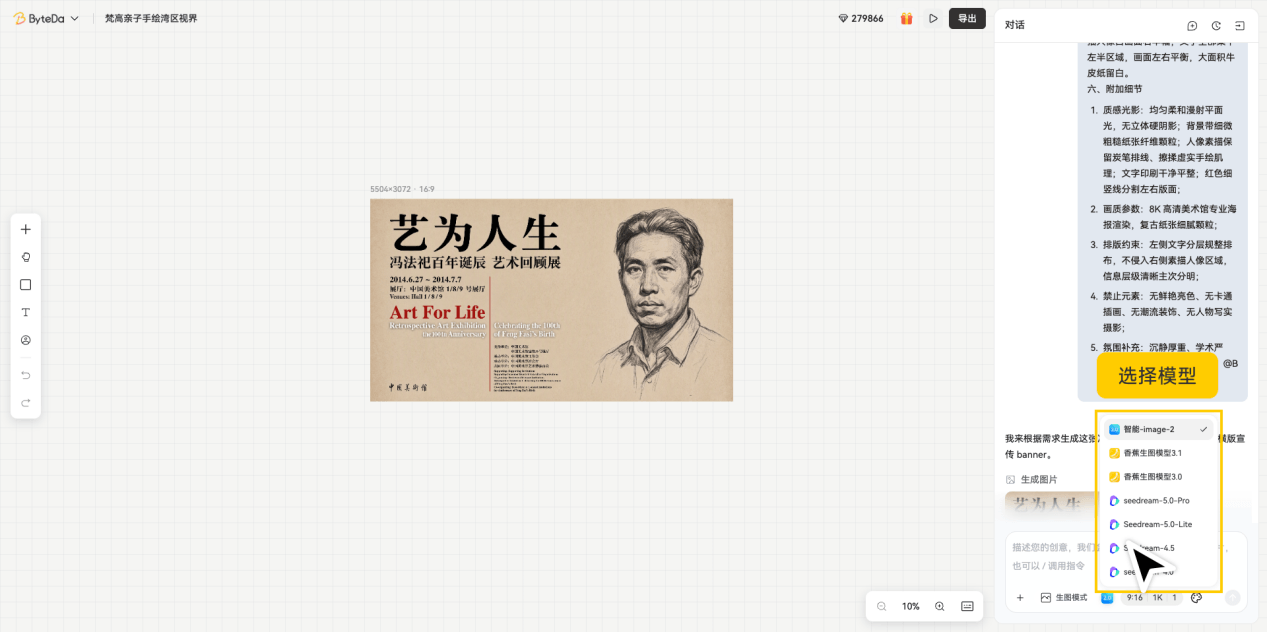
2.3 Choose a Model
Multiple models are available.
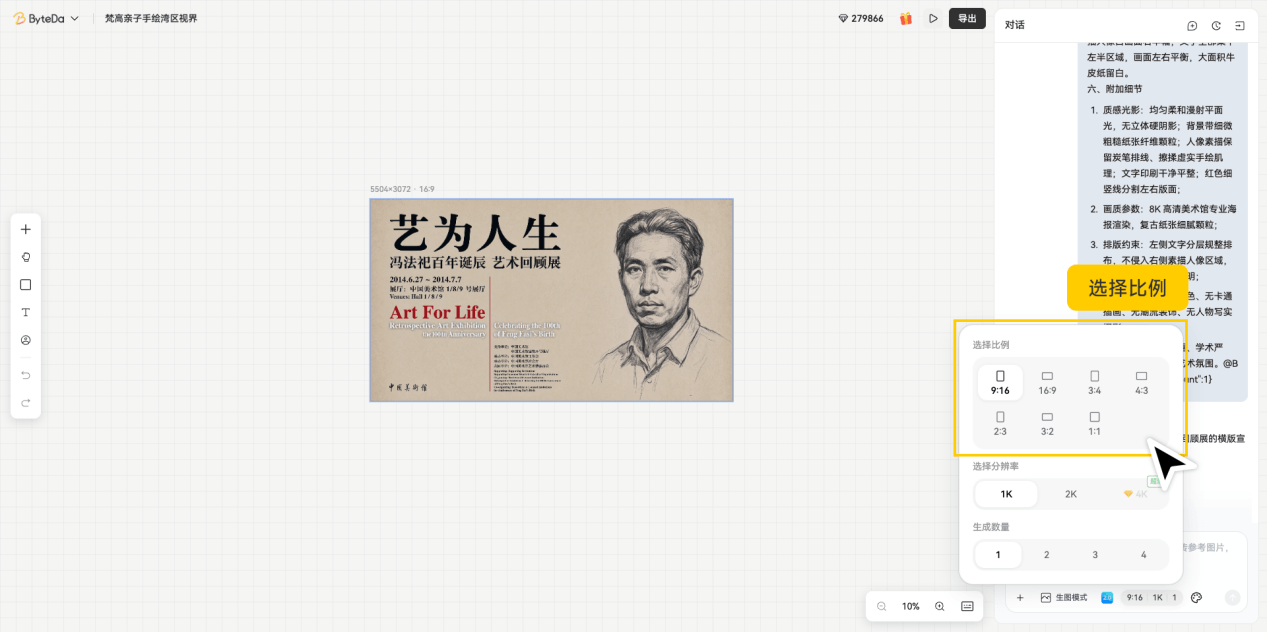
2.4 Choose Size
You can choose from four categories based on your needs: common aspect ratios, e-commerce assets, social media, and custom sizes.
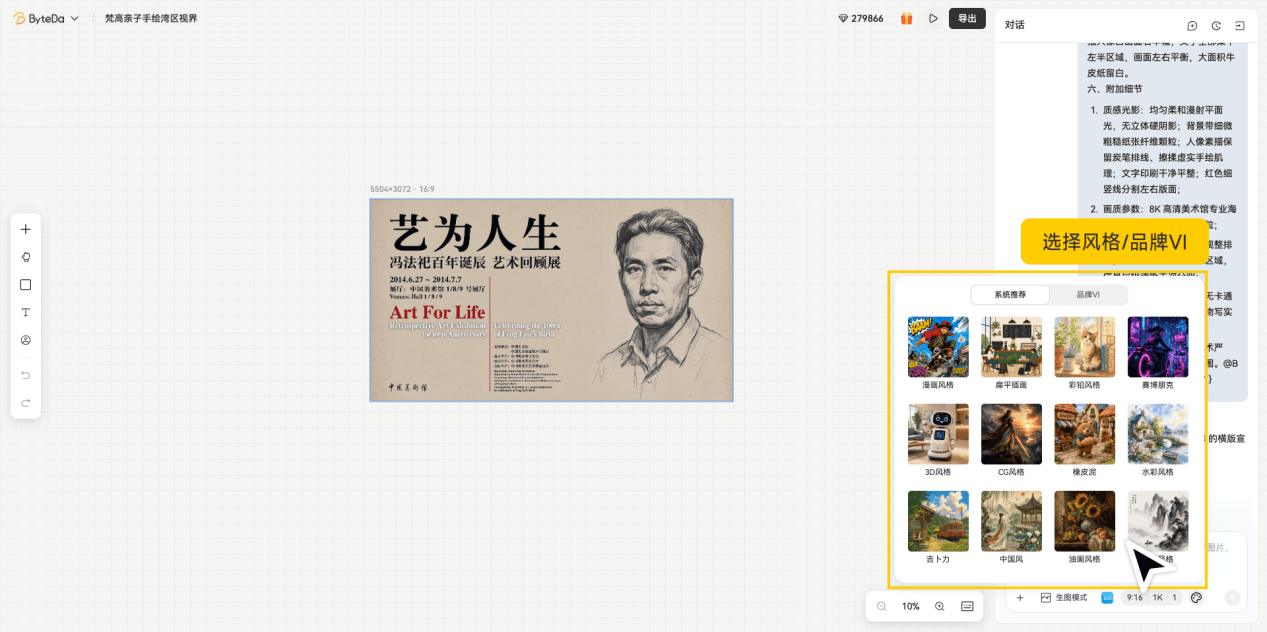
2.5 Choose an Image Style
Multiple styles are available, and Enterprise also supports custom brand VI styles.
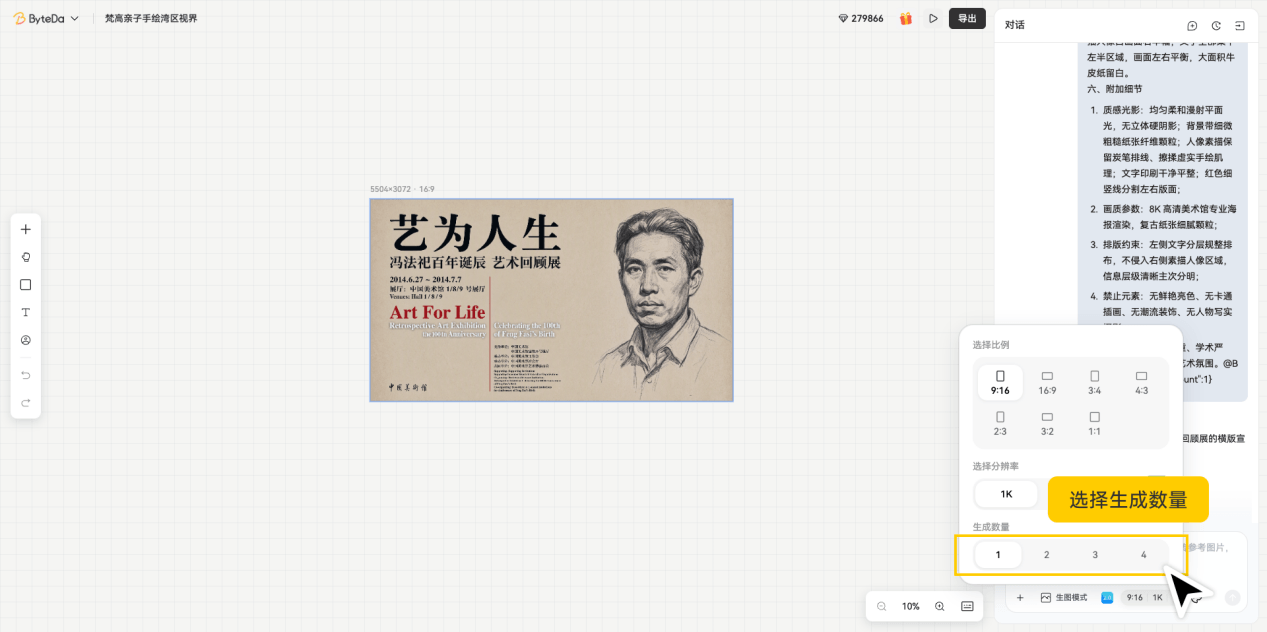
2.6 Choose the Number of Images
3. Bottom Canvas View
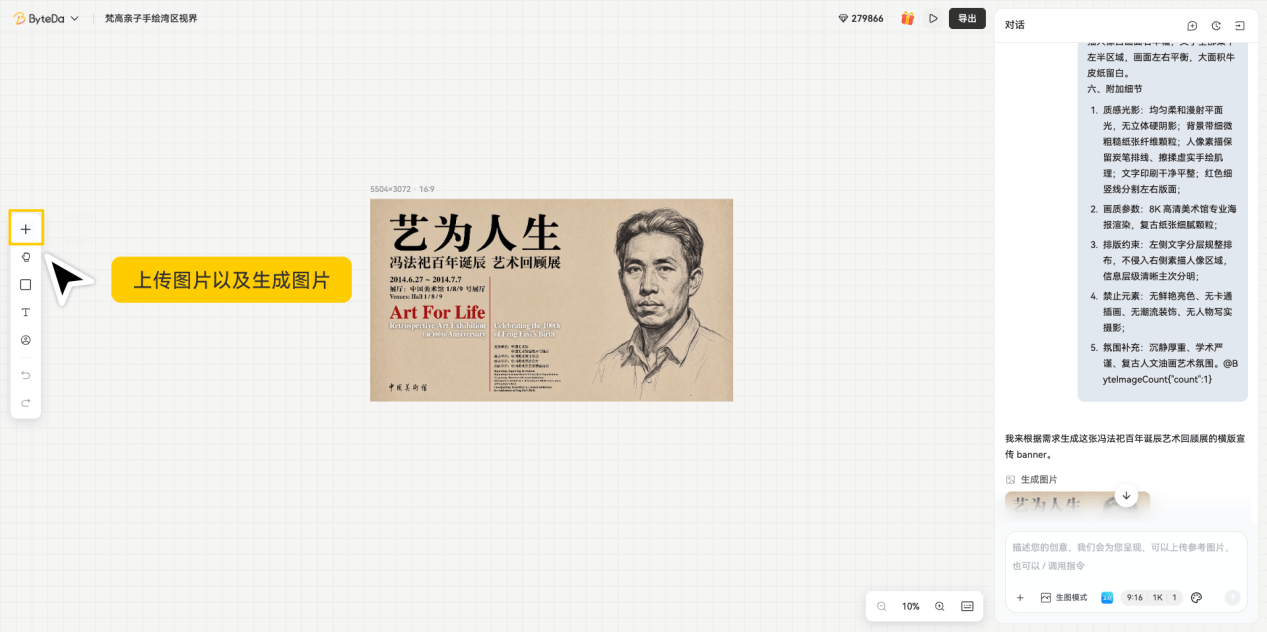
3.1 Upload Images / Documents and Generate Images
3.2 Click a Result
After clicking an image, a set of editing tools appears below it.
Reference image: send the image back into the chat box and edit it with a prompt.
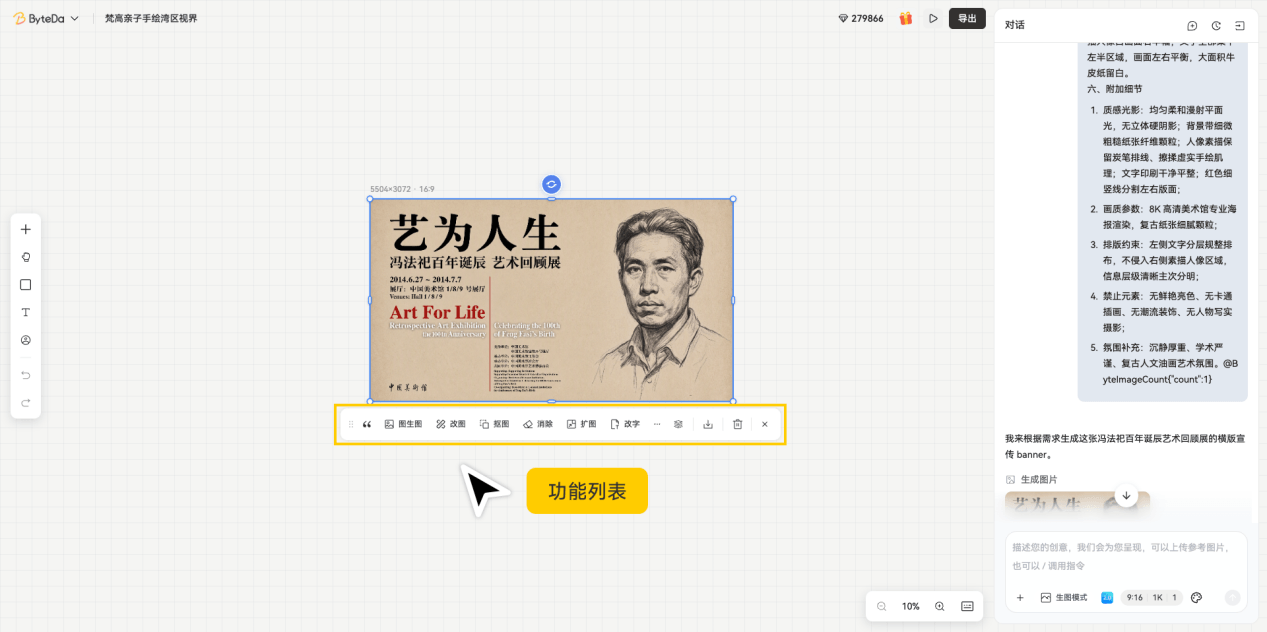
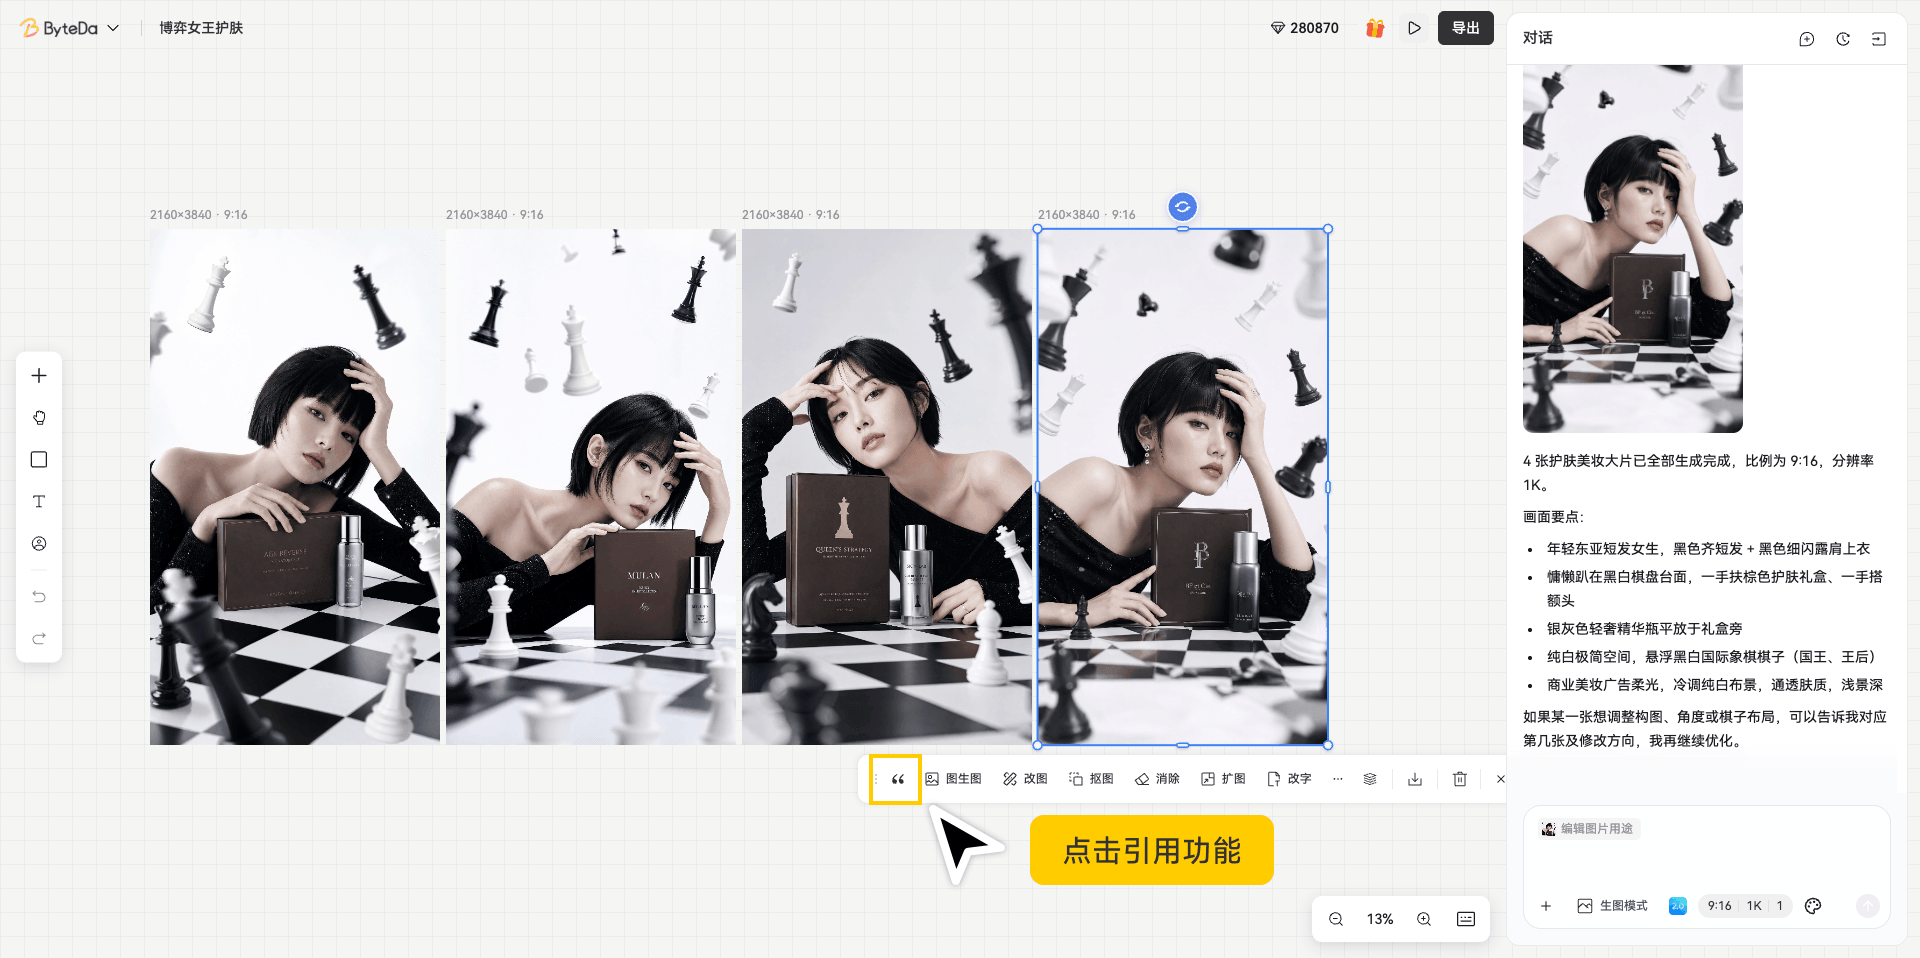
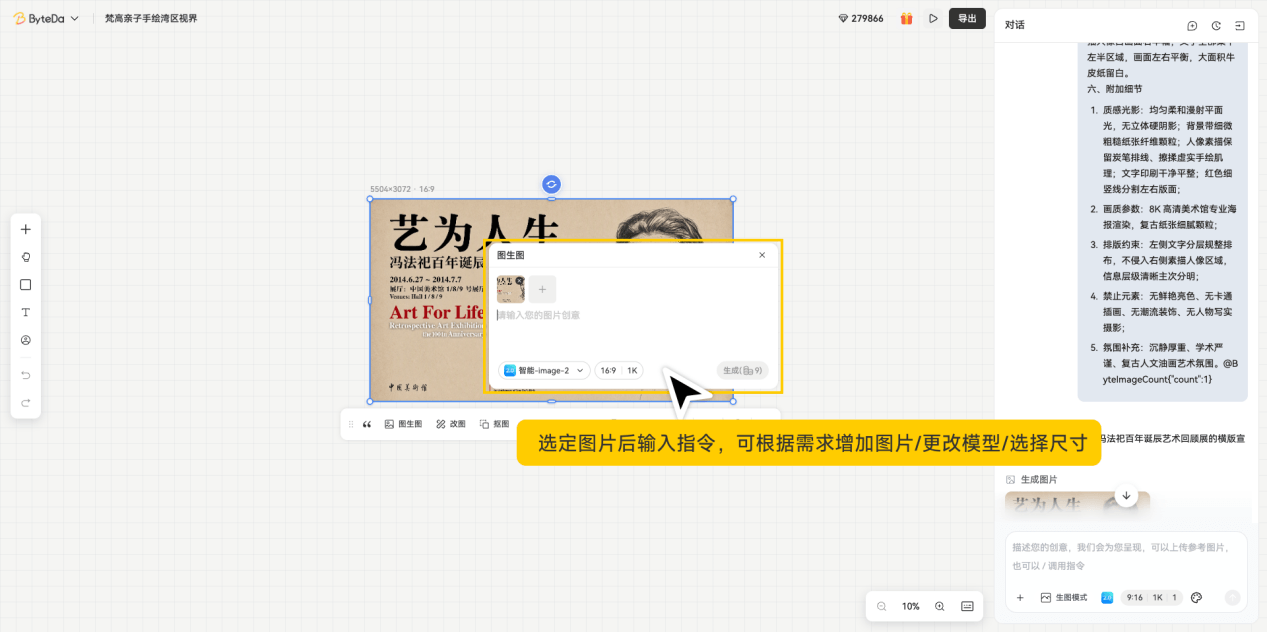
Image-to-Image: select an image, enter a prompt, and add images, change the model, or choose a different size as needed.
Edit Image: after clicking, use selection, brush, or lasso on the area you want to change, then enter a prompt and generate.

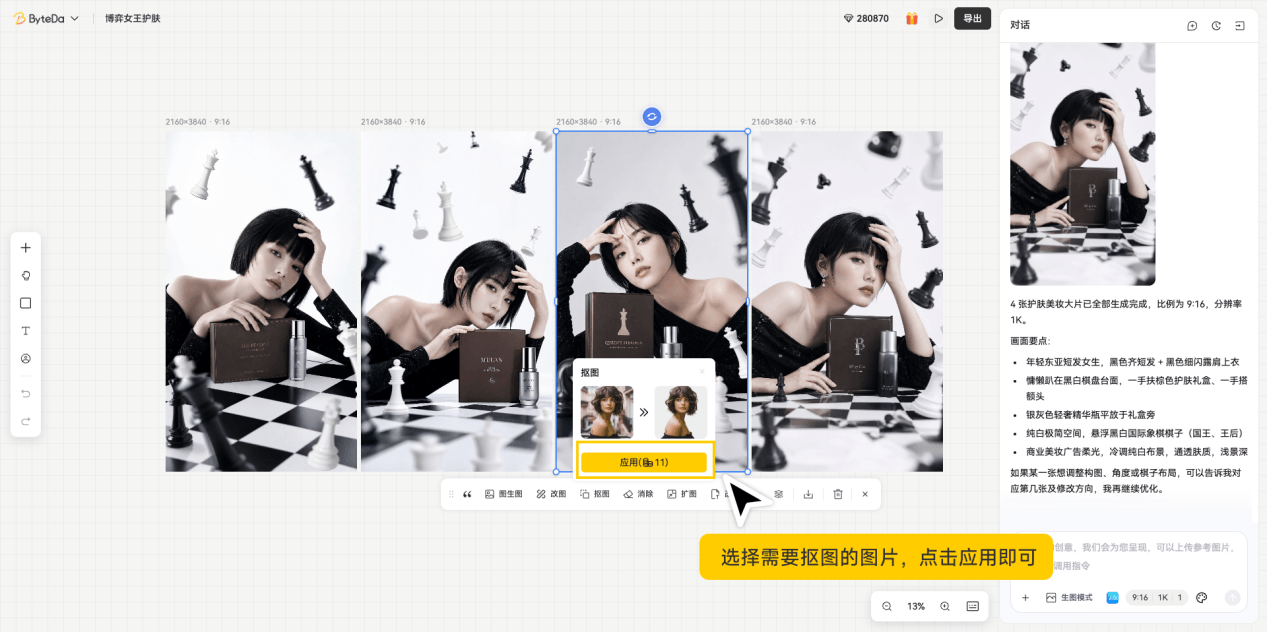
Background removal: select the image you want to cut out and click Apply.
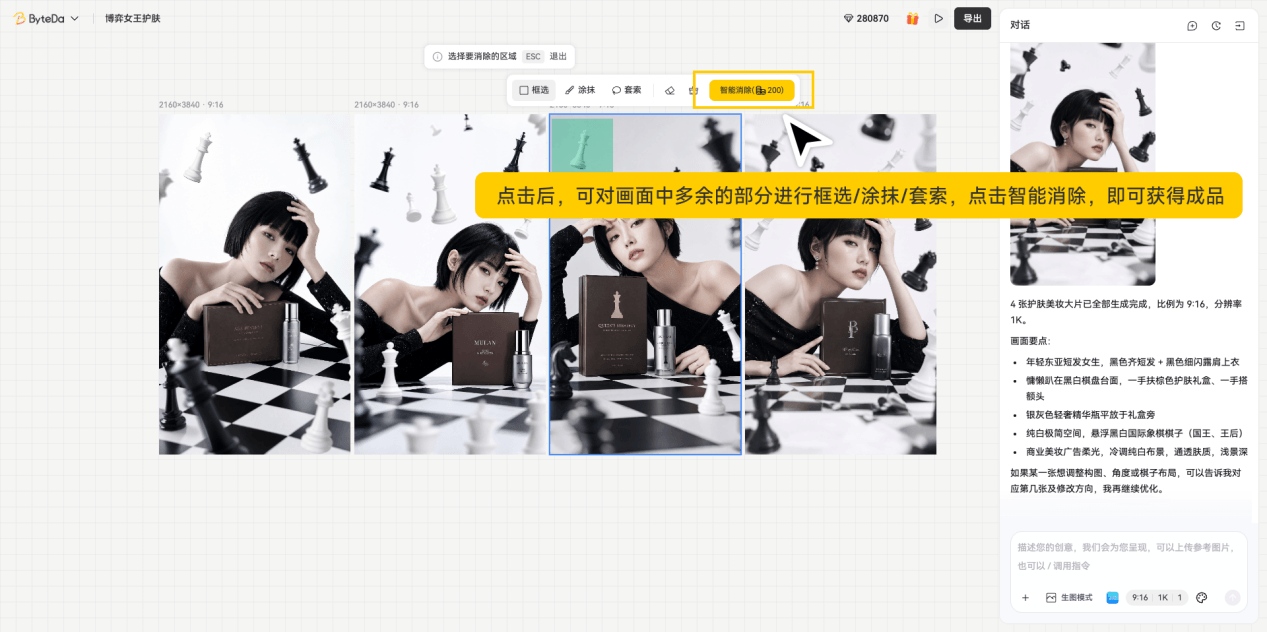
Remove: after clicking, you can select, brush, or lasso the extra parts in the image, then click Smart Remove to get the final result.
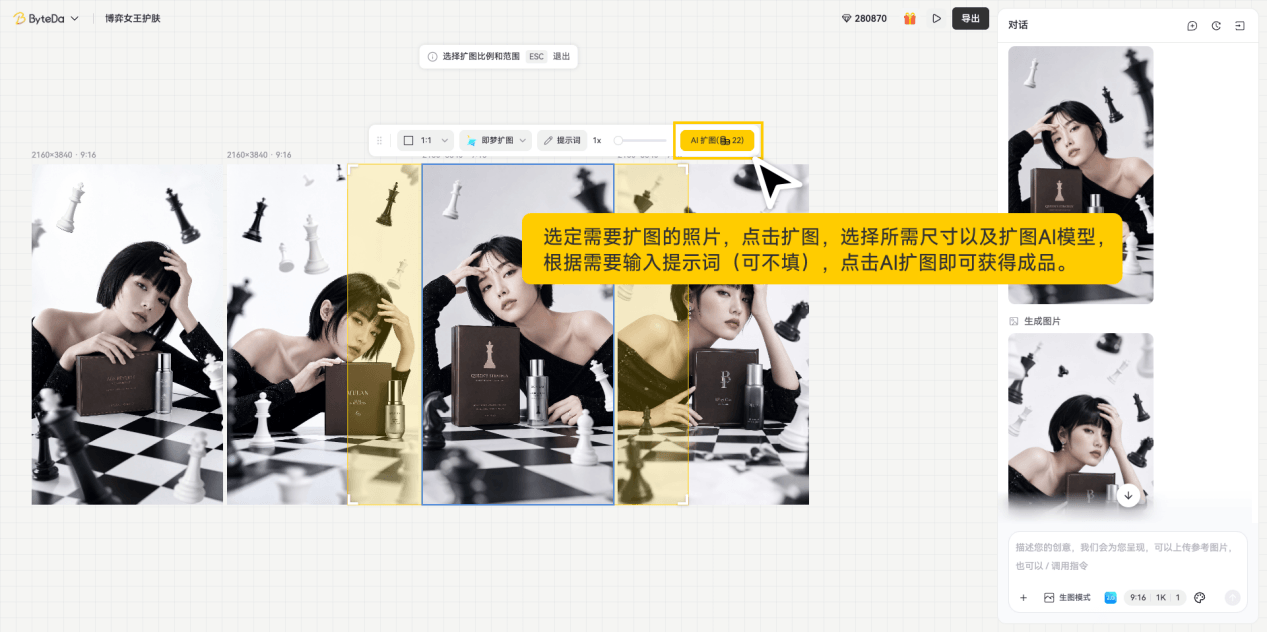
Expand: select the image you want to expand, click Expand, choose the target size and AI model, optionally enter a prompt, and click AI Expand.
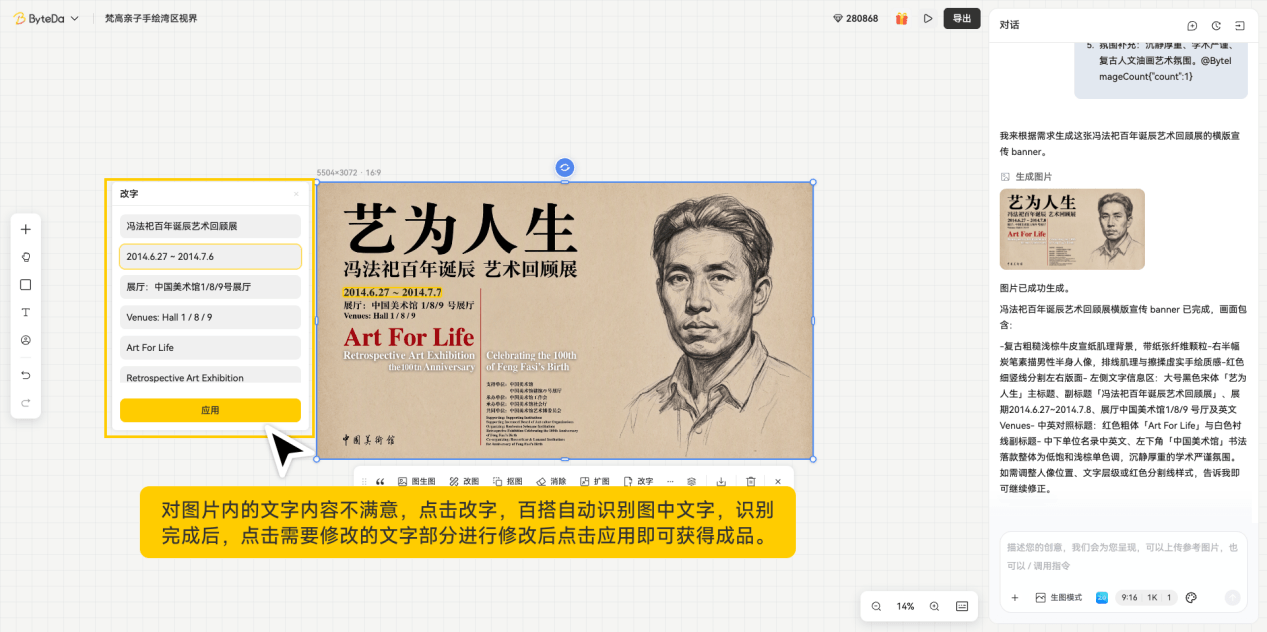
Edit Text: if the text in an image is not right, click Edit Text. ByteDa will detect the text automatically, and you can click the text you want to change and apply the edit.
3.3 Hand Tool
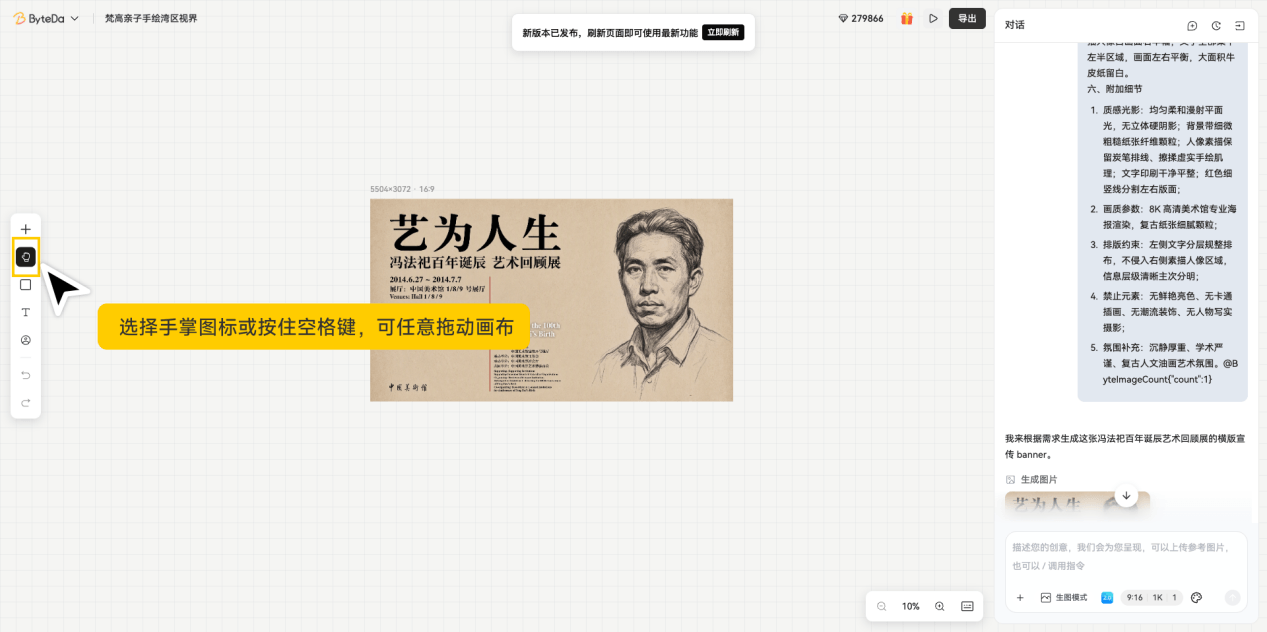
Drag the canvas freely.
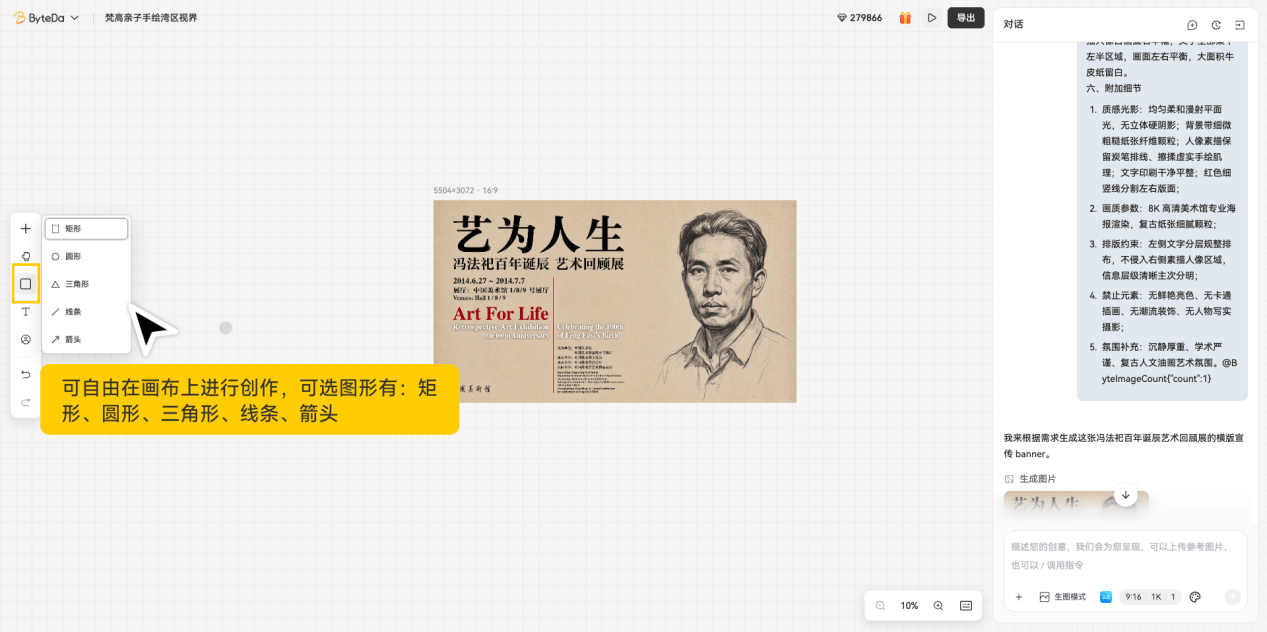
3.4 Shapes
Create freely on the canvas with shapes such as rectangles, circles, triangles, lines, and arrows.
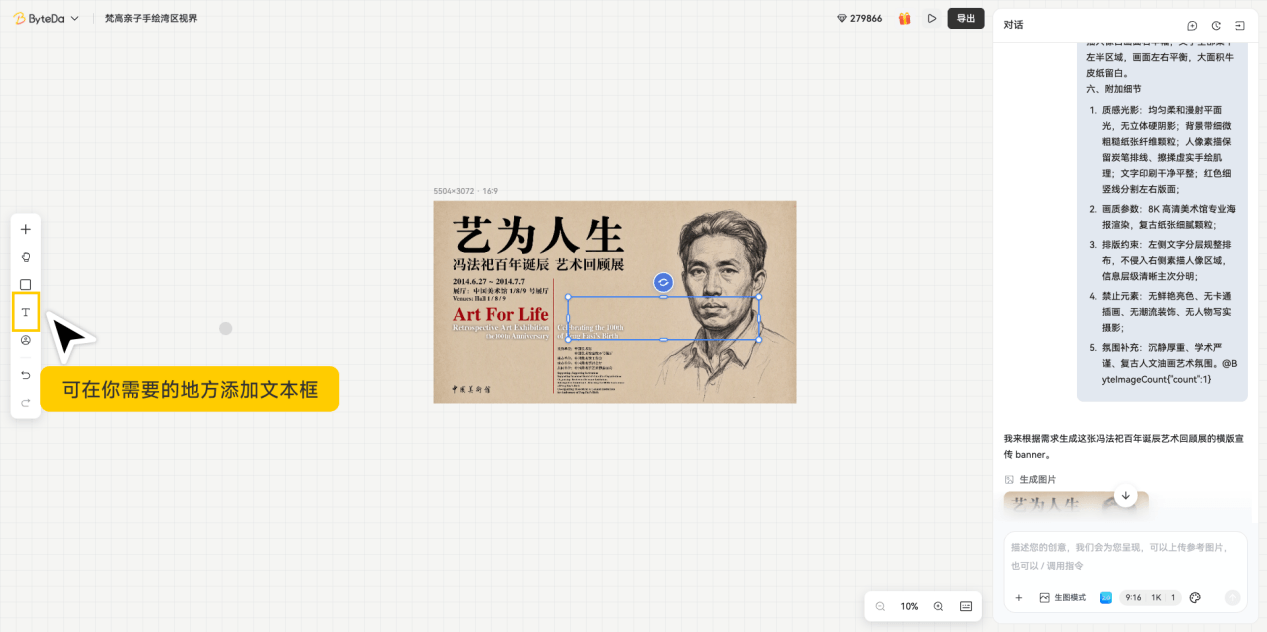
3.5 Text Box
Add a text box wherever you need one.
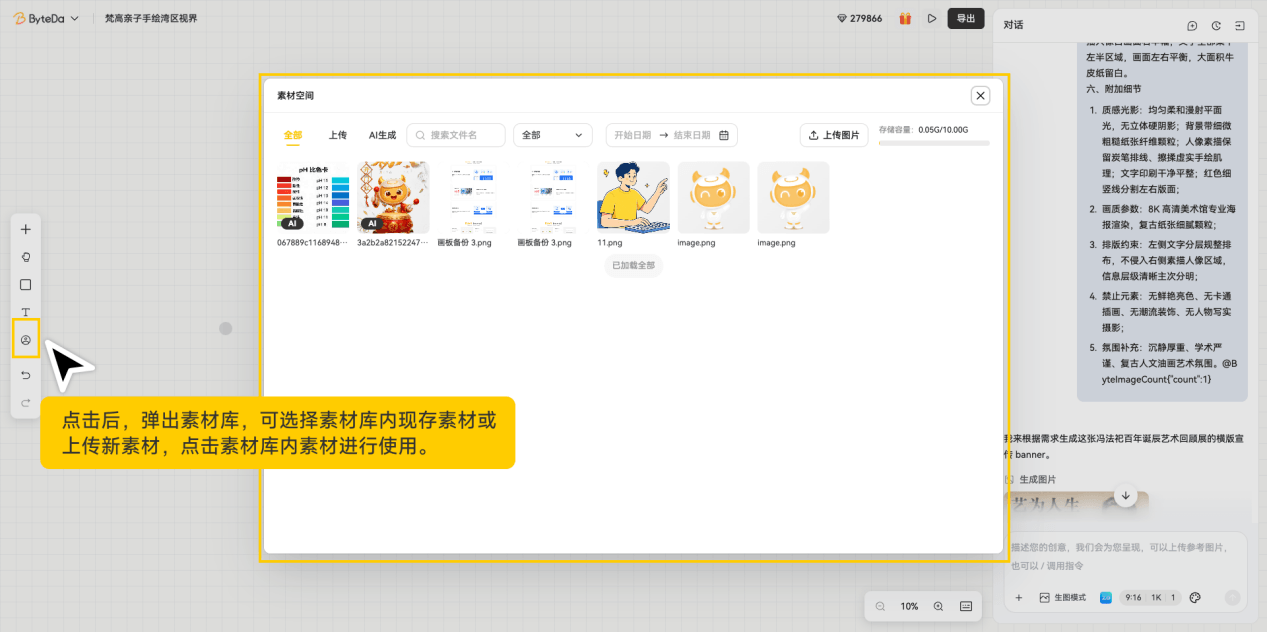
3.6 Asset Library
Click to open the asset library, where you can choose existing assets or upload new ones, then click an asset to use it.
3.7 Shortcuts
Click the shortcut button to customize it based on your own habits.
